A week ago, I opened Chrome as usual. But the following message (Figure 1) was popped up from nowhere nearby the right bottom corner of the taskbar on my Windows 10, asking me to switch and use Microsoft Bing as my default search engine.
Figure 1. Microsoft Bing Alert Asking to be Default Search Engine on Chrome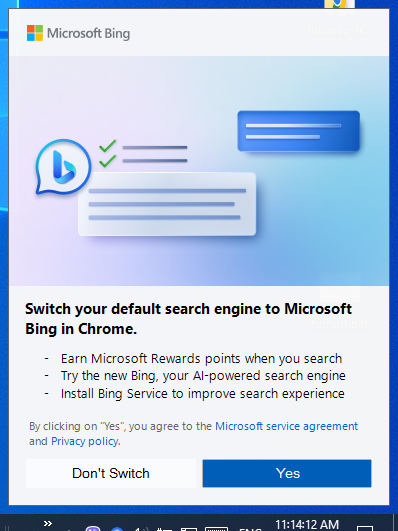
Under the Google Search, I have learned that this issue is somewhat related to Microsoft Edge. I don't use Edge. I am surprised to receive the alert (Figure 1) while there was no Edge process found in my Task Manager. Then, I opened Edge (edge://flags/) and disabled the experiment flag (i.e., Show feature and workflow recommendations) as recommended (Figure 2).
Figure 2. Disable Recommendations from Microsoft Edge

When I exited Edge, I didn't expect that there was a Quick Access Search Bar right in front of my desktop (Figure 3). It turned out that Edge didn't completely exit after closing. And Edge got auto-updated while I had it open.
Figure 3. Quick Access Search Bar by Microsoft Edge

As my response, I clicked "Turn off search bar" (Figure 3). Then I reopened the Edge and disabled Edge continuously running in the background after it had been closed (Figure 4).
Figure 4. Disable Microsoft Edge Running in the Background after Closing


Unfortunately, this Quick Access Search Bar was still triggered by Windows search regardless of my default browser. If there was Quick Access Search Bar, there would be Microsoft Edge always running in the background. A registry trick is required to fix this.
- Open Registry Editor (regedit.exe)
- Add a 32-bit DWORD key named "WebWidgetAllowed" in the location of "Computer\HKEY_LOCAL_MACHINE\SOFTWARE\Policies\Microsoft\Edge"
By default Edge key doesn't exist. Simply right-click on the folder and choose New > Key and then type Edge to create it.
Inside the Edge folder, choose New > DWORD (32-bit) Value, and then type WebWidgetAllowed and set its value to 0.
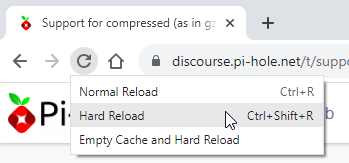
Edge is a Chromium-based browser. Thus, it behaves like Chrome. It will always update automatically (Figure 5). To prevent this from happening, I added the following URLs into my Pi-hole blacklist (Figure 6).
- msedge.api.cdp.microsoft.com (endpoint for Edge to check updates)
- *.dl.delivery.mp.microsoft.com (services endpoints for download, also for windows update).
Note that this item must be enabled for windows update. Otherwise, windows update may get stuck.
Figure 5. Microsoft Edge is Always Auto-Update Like Chrome

Figure 6. Microsoft Edge is No Longer to Update after Pi-hole Intervention


Since then, I haven't seen any unwanted popups. Hope that they are really gone forever. Otherwise, I will consider completely to uninstall Microsoft Edge.
Here are the steps to remove Microsoft Edge via the command prompt when the "uninstall" button is grayed out on Windows 10.
- First, let's find out where the Edge's installer is via File Explorer (C:\Program Files (x86)\Microsoft\Edge\Application)
Figure 7. Navigate to Microsoft Edge Installation Folder
- Go into the matching version folder. In this case of the example, C:\Program Files (x86)\Microsoft\Edge\Application\116.0.1938.62\.
Figure 8. Location of Microsoft Edge Installer

- Open the command prompt: at the location bar, type cmd or cmd.exe. Or type the "cmd" in the Windows search box.
- Commands for Edge uninstallation:
- In the command prompt, be sure you are in the setup.exe location (e.g., C:\Program Files (x86)\Microsoft\Edge\Application\116.0.1938.62\); otherwise, do
cd C:\Program Files (x86)\Microsoft\Edge\Application\116.0.1938.62\ - setup.exe --uninstall --system-level --verbose-logging --force-uninstall
- In the command prompt, be sure you are in the setup.exe location (e.g., C:\Program Files (x86)\Microsoft\Edge\Application\116.0.1938.62\); otherwise, do